
ITEMS NEEDED:
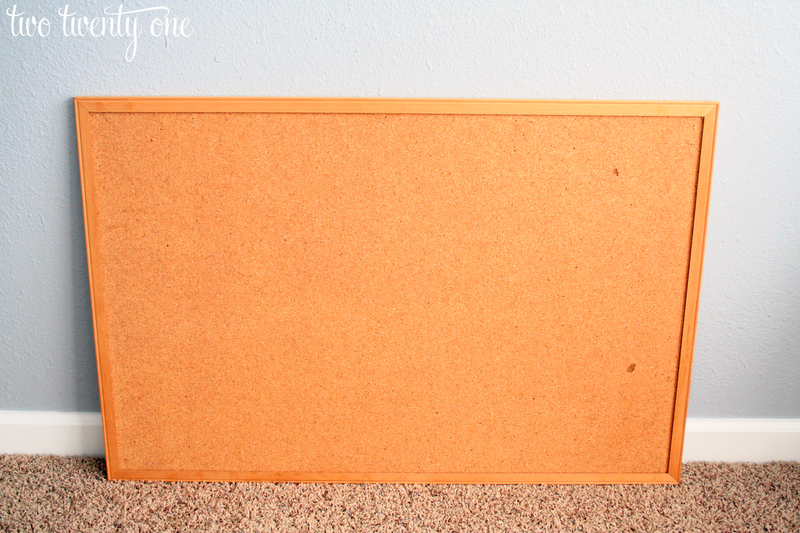
1….corkboard
2….fabric
3….thumbtacks
4….iron
5….spray adhesive
6….hot glue gun
7….rhinestones *if desired*
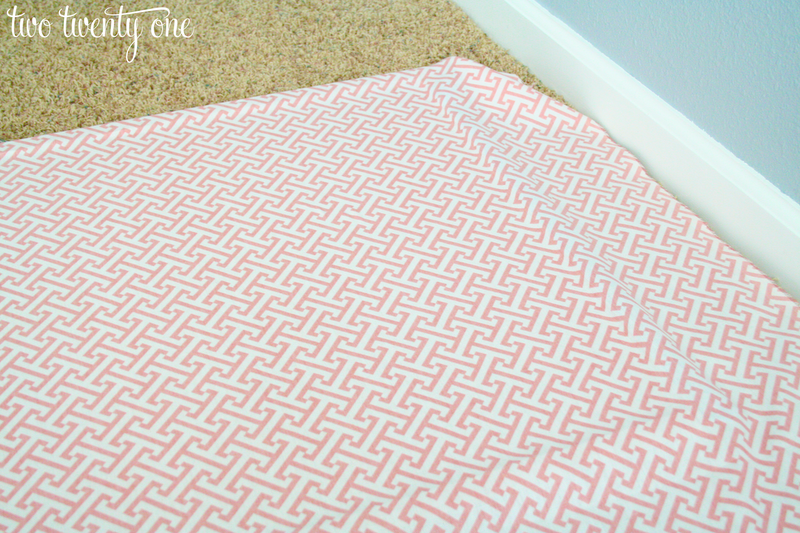
I started by ironing the fabric because no one likes creases on their fabric-covered cork board.

I sprayed the cork board with adhesive before laying the fabric on top. I smoothed out the fabric with my hands so there weren’t any bubbles. Notice that I left 4-5 inches of excess fabric around the edge of the cork board.
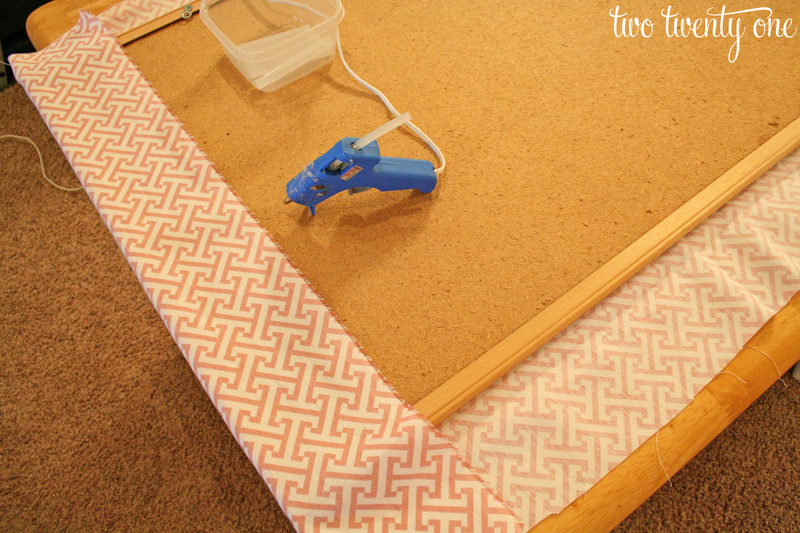
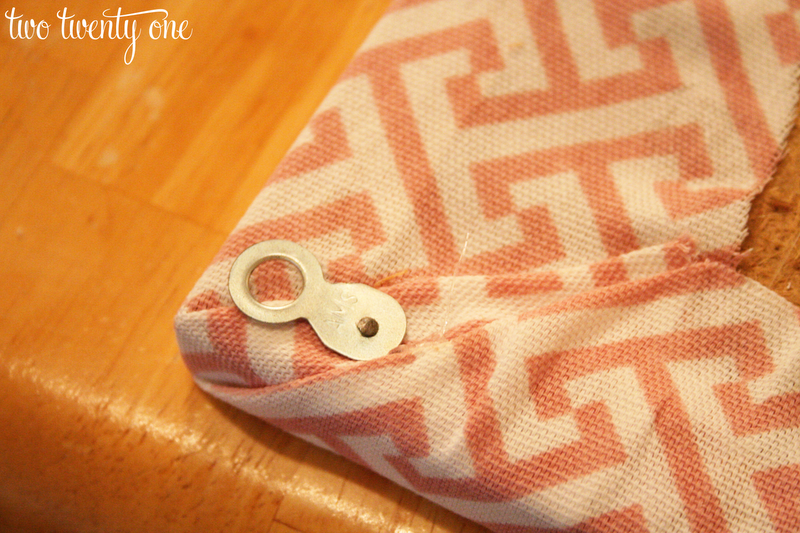
Then I started to push in the thumbtacks. (Push it real good.)
After all 200+ thumbtacks were in place, I hot glued the excess fabric onto the back of the cork board.
The original cork board hung horizontally but after deciding to put it on a small wall, I moved the little hangy things so it could hang vertically.
That’s it! This project cost me around $12 because I used a 40% off coupon for the fabric.
Note: If you plan on taking on the self-torturous task of pushing 200+ thumbtacks into a cork board I suggest spreading it out over a few days. Your fingers will thank you.
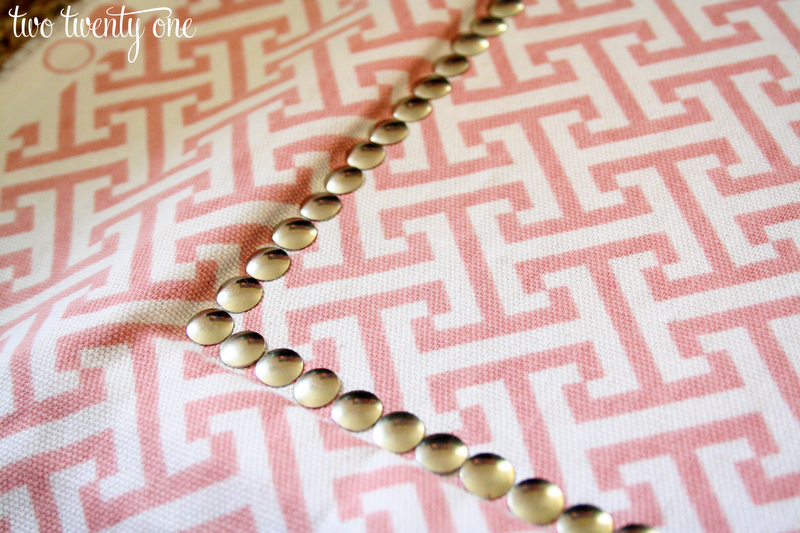
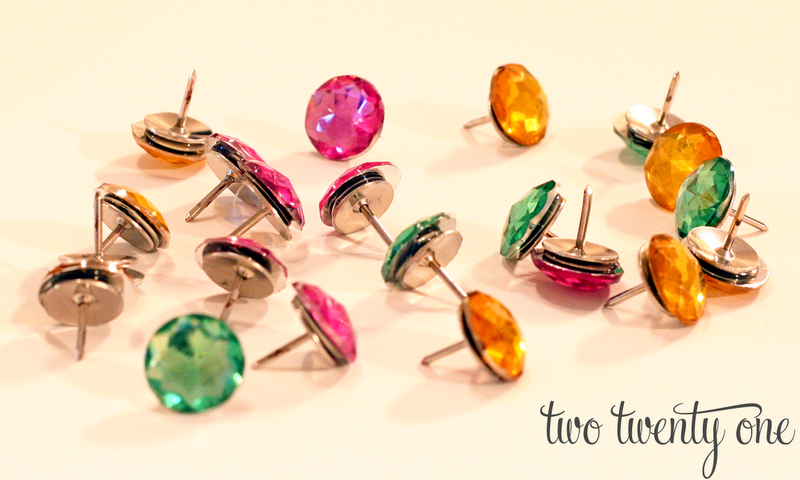
Could you see my sparkly thumbtacks in the first photo? No? Here’s a close-up.
Regular thumbtacks are boring so I glued rhinestones onto a bunch of thumbtacks.
Now they are fancy schmancy thumbtacks.
Now they are fancy schmancy thumbtacks.
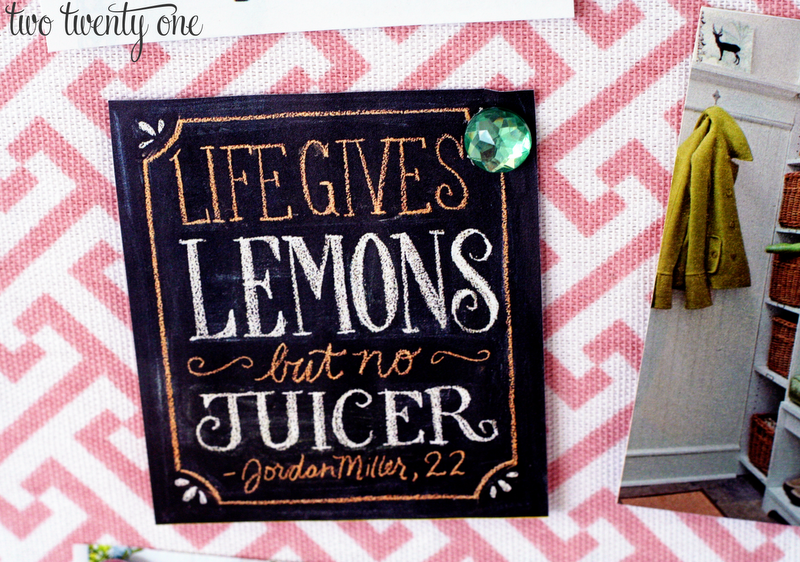
What do you think of my faux nail head trimmed cork board?
I found this at: http://www.twotwentyone.net/2012/02/faux-nail-head-trimmed-cork-board/

I made one a while back and love it… so easy and fun! You used cute fabric.
http://www.brittanyblum.com